If you’re considering solar panel installation for your home, understanding the process can help you feel confident about making the switch to renewable energy. One of the most common questions homeowners ask is:
“What actually happens during a solar installation?”
At SolarTherm UK, we believe informed customers make better decisions. That’s why we’ve created this comprehensive guide explaining every stage of the solar installation process, from your initial survey through to system commissioning and ongoing performance monitoring.
Whether you’re based in Essex, Kent, Suffolk, Hertfordshire or the surrounding South East and East Anglia regions, this guide will show you exactly what to expect when working with professional solar installers like SolarTherm UK.
Why Understanding the Solar Installation Process Matters
Installing solar panels is a significant home improvement project and long term investment. Understanding each stage helps homeowners:
- Plan around installation dates
- Know what preparation is required
- Understand health and safety requirements
- Set realistic expectations for project timelines
- Choose experienced and accredited solar installers
A professionally managed solar installation should be straightforward, efficient and minimally disruptive to your daily life.
Step 1: Initial Consultation and Feasibility Assessment
Every successful solar panel installation begins with a detailed consultation. During this stage, your SolarTherm UK solar specialist will assess:
- Roof size and available space
- Roof orientation and pitch
- Shading from nearby trees and neighbouring buildings
- Current electricity consumption
- Future energy requirements
- Existing electrical infrastructure
This information allows us to design a bespoke solar system tailored to your property’s specific requirements rather than using a one size fits all approach.
Our experienced solar specialists carry out detailed assessments using industry standard design software and energy modelling tools to ensure optimal system performance and maximum return on investment.
Step 2: Solar System Design and Proposal
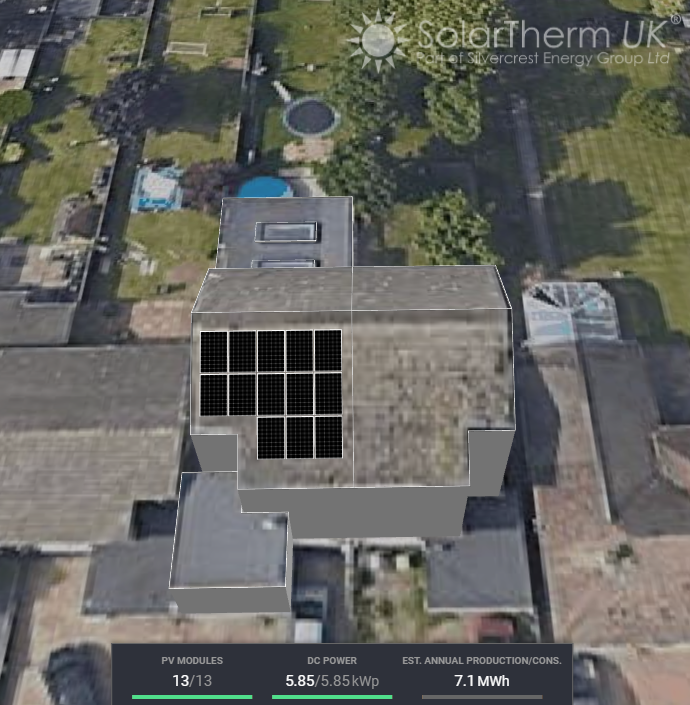
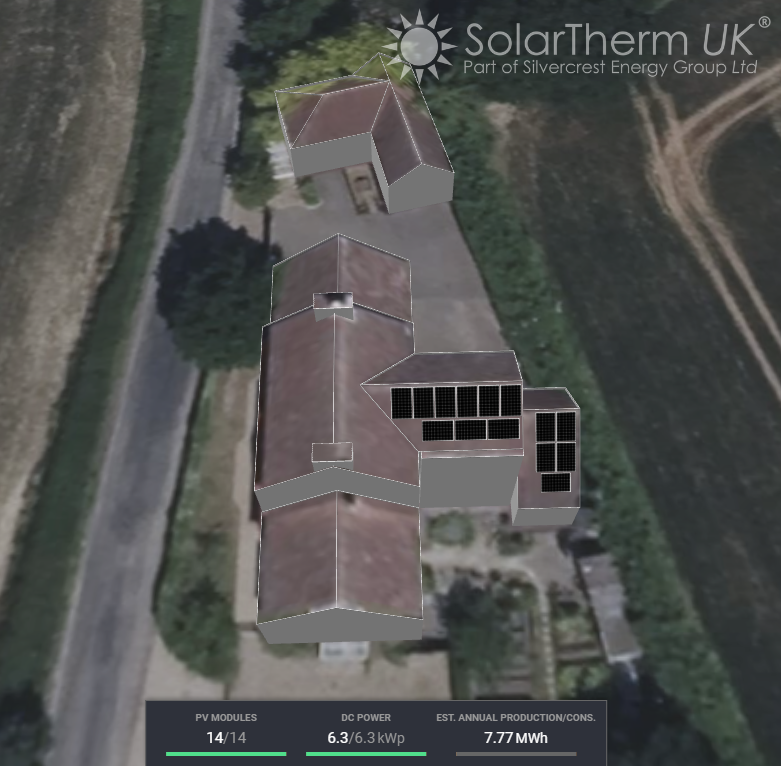
Following the feasibility assessment, we’ll create a customised solar proposal. This will include recommended system size, designed around your property, usage and lifestyle, estimated annual generation and projected energy savings. We’ll provide equipment specifications and battery storage options.
A well designed system balances energy production, available roof space, budget and long term performance goals. Once you’ve confirmed you are happy with your design and projected results, we’ll get you booked in for a site survey.
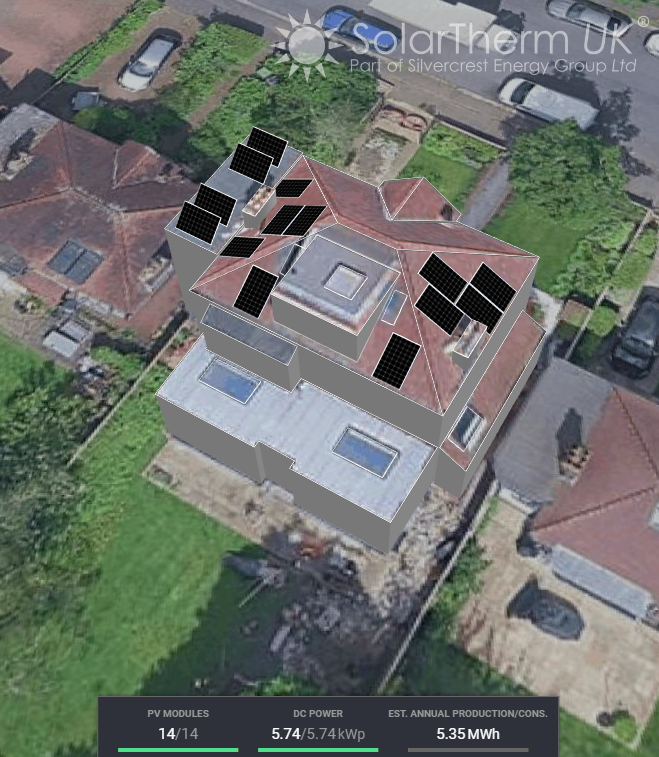
Step 3: Structural and Roof Assessment
Before we can schedule you in for installation, your roof must be suitable for supporting the solar array. Our specialist solar surveyor will assess the condition of your roof, roof covering (slate or tile), the structural integrity and load bearing capacity. They’ll also measure for any access requirements. If any repairs are required, these can be addressed before installation to ensure your solar system performs reliably for decades. Lastly, we’ll discuss the location of where the electrical equipment will go and plan the most efficient cable routing.
Step 4: Scaffolding Installation
One of the most important stages of the solar installation process is the erection of scaffolding. Solar panels are installed at height, so making safe roof access imperative. Proper scaffolding provides:
- Safe working platforms
- Fall protection for installers
- Safe transportation of materials
- Compliance with Health and Safety Executive (HSE) regulations
- Reduced risk of property damage
Unfortunately, some installers will attempt to minimise costs by using inadequate or insufficient access equipment (or even going without completely). This can compromise both safety and installation quality.
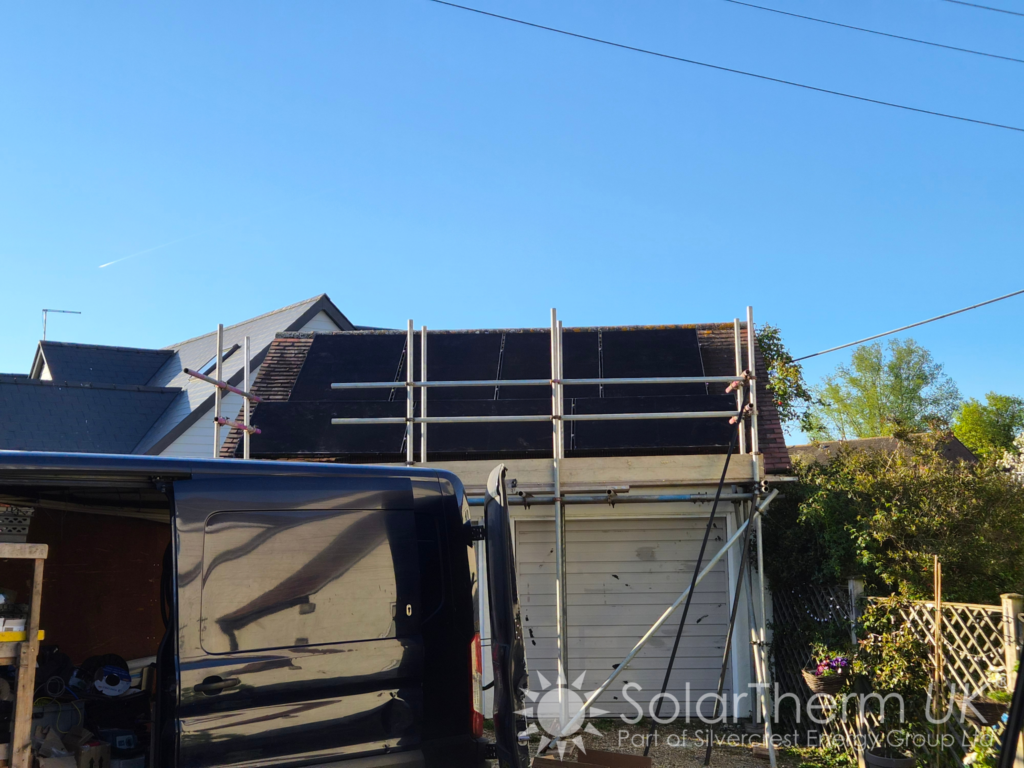
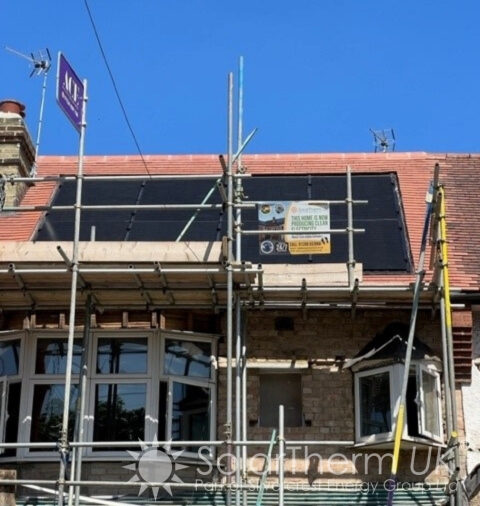
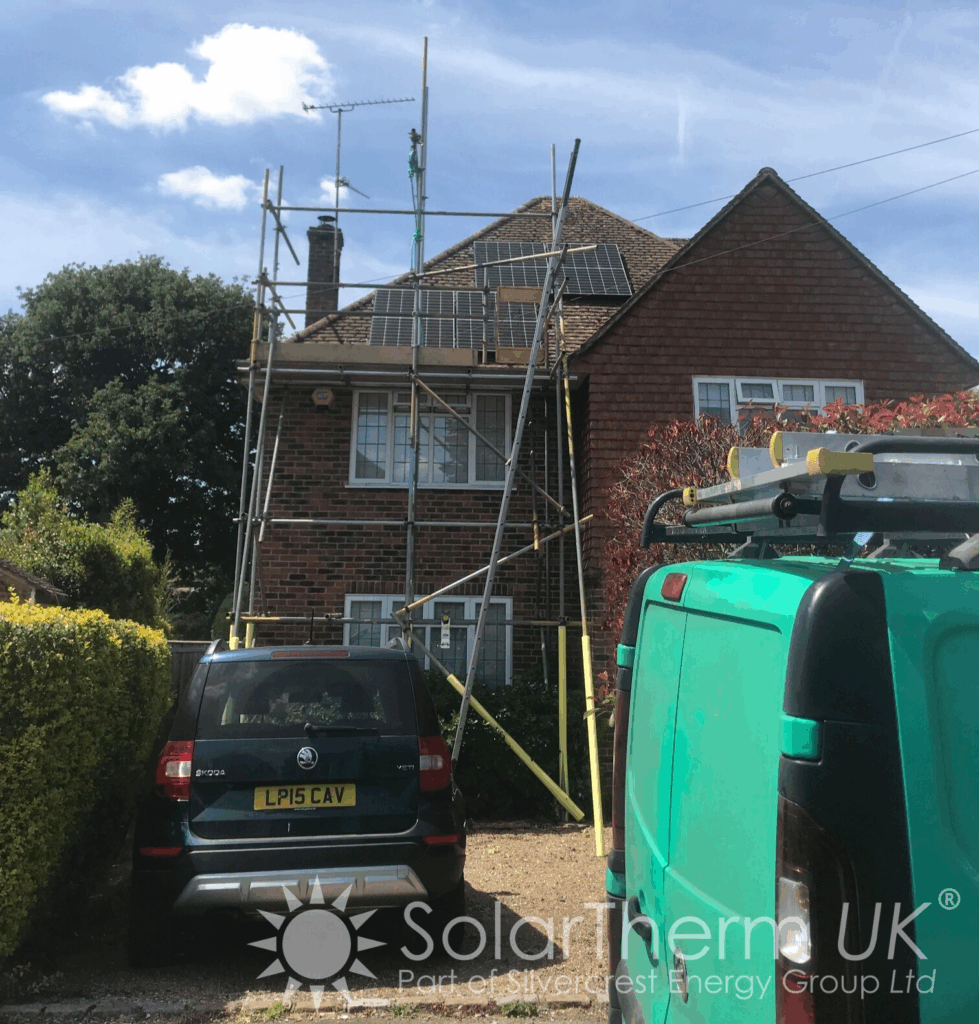
To ensure the highest safety standards, SolarTherm UK works closely with our sister company, Silvercrest Scaffolding. Professional scaffolding provides a secure working environment that allows installation teams to focus on quality workmanship while maintaining full compliance with UK health and safety requirements.
For more information about professional scaffolding services, visit Silvercrest Scaffolding.
At SolarTherm UK, we never compromise on safety. Proper scaffolding forms a key part of our installation process because protecting our team, customers and properties is a fundamental part of delivering professional solar installations.
Step 5: Mounting System Installation
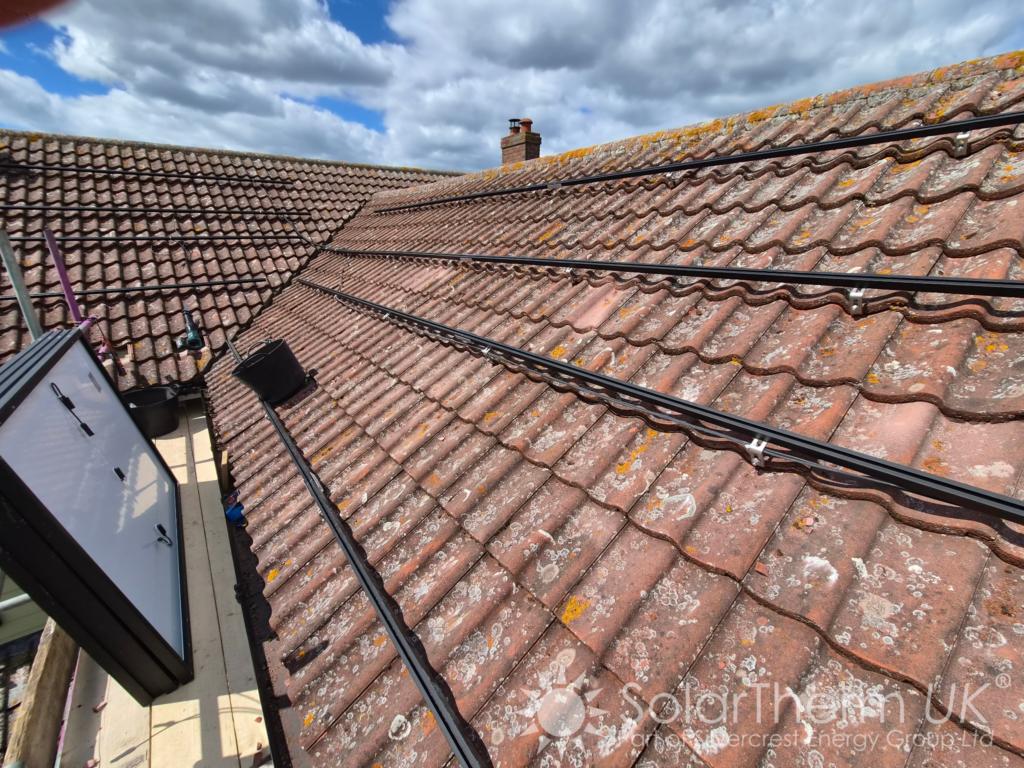
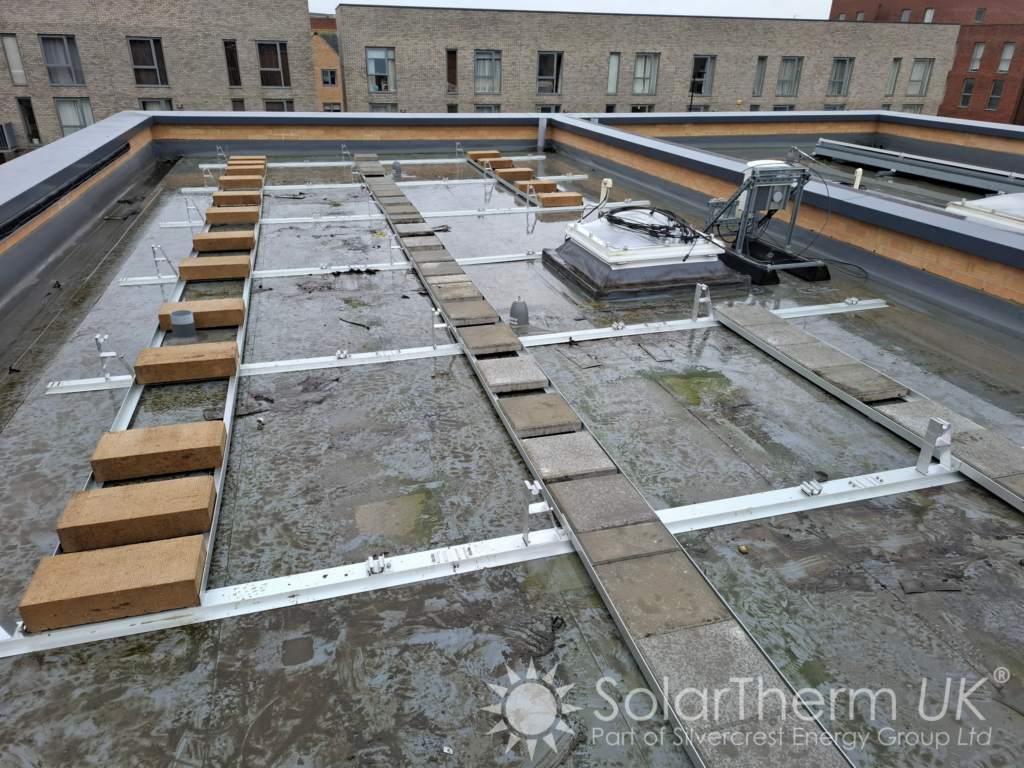
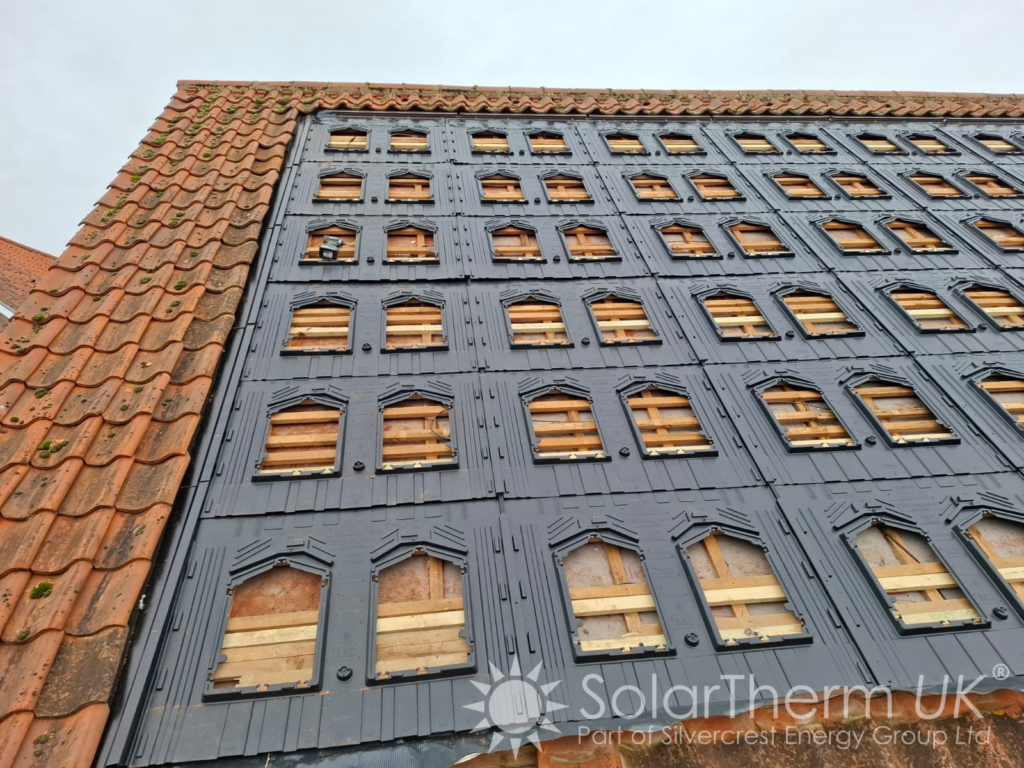
Once scaffolding is in place, the installation team begins fitting the mounting system. This stage involves:
- Carefully removing selected roof tiles
- Installing roof anchors or hooks
- Fixing aluminium mounting rails
- Ensuring weatherproof integration with the roof structure
The mounting system forms the foundation of the entire solar array, so precision is critical. Professional solar installers ensure all fixings are secure, weather resistant and capable of withstanding UK weather conditions for decades.
Step 6: Solar Panel Installation
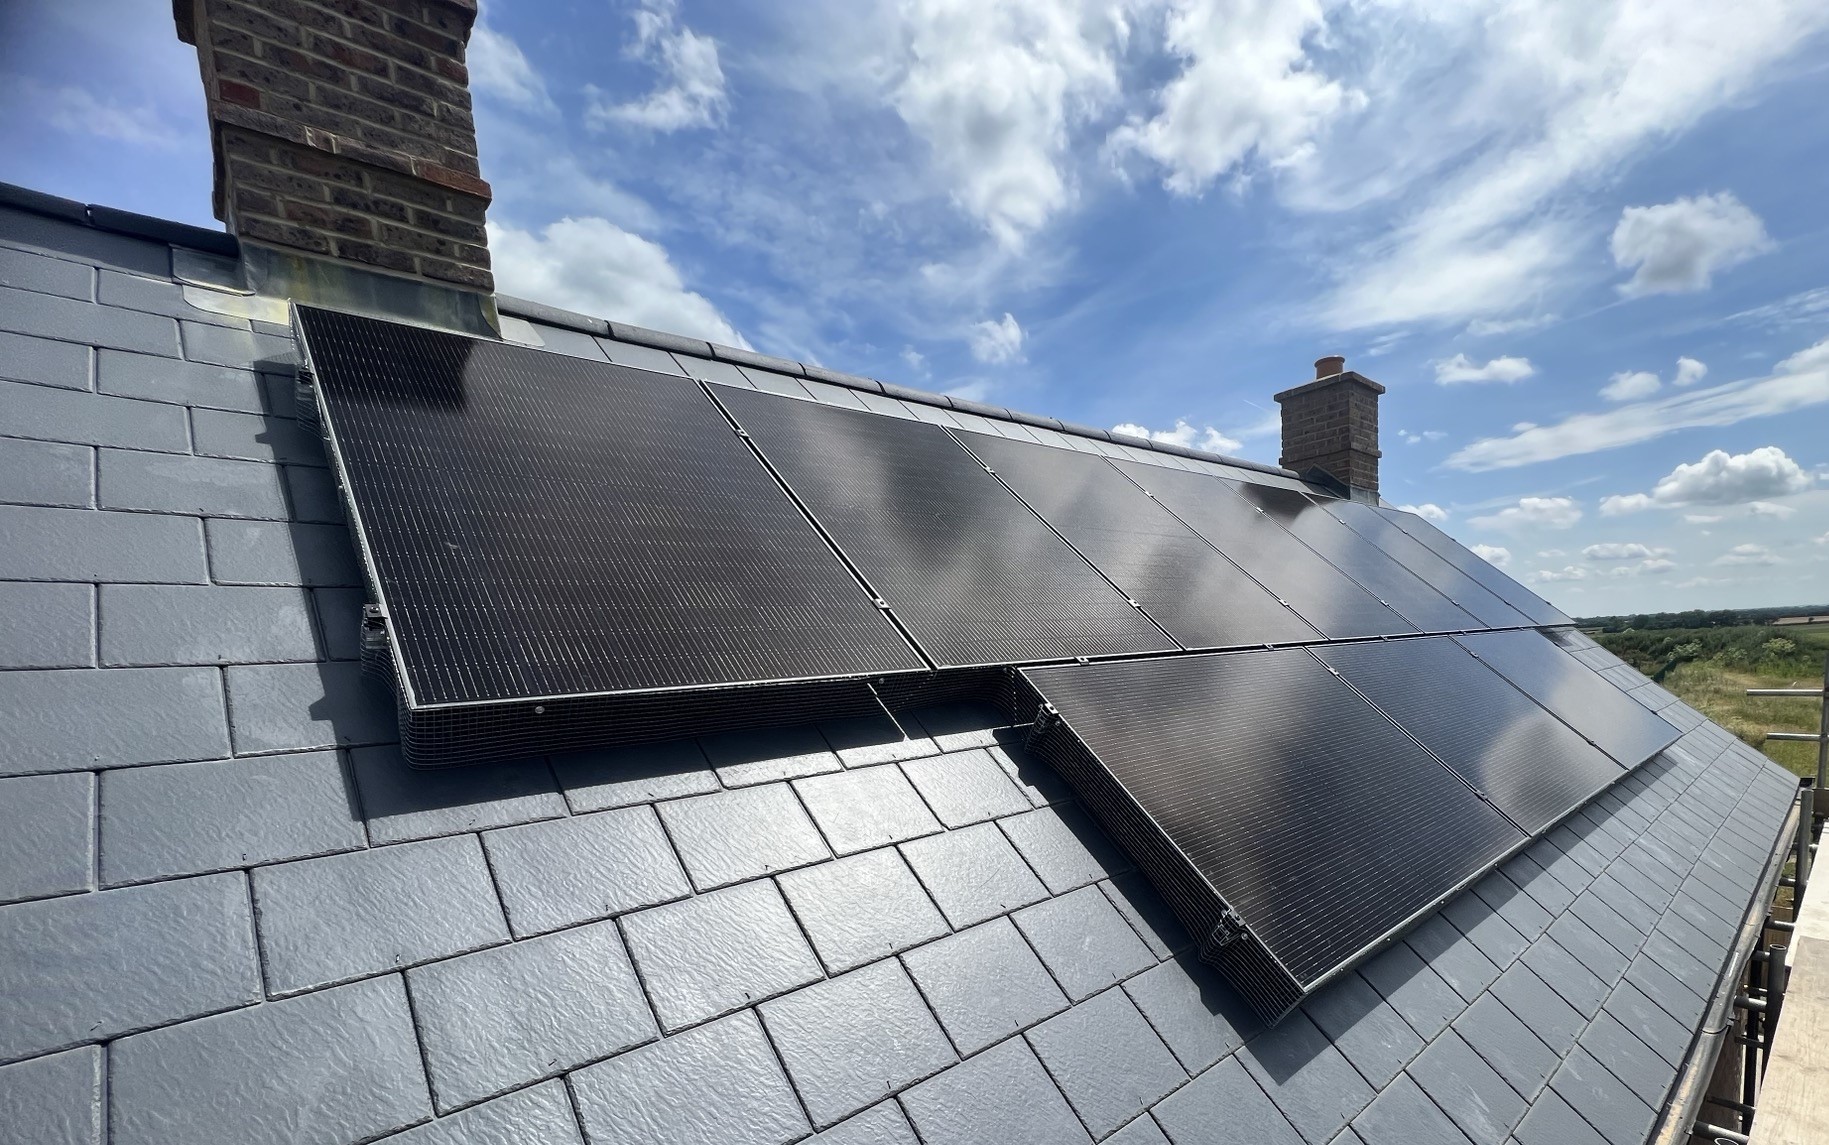
With the mounting rails installed, the solar panels can be fitted. During this stage, panels are lifted safely onto the roof and panels are secured to the mounting rails. Electrical connections between the panels are completed and wiring is protected and routed safely. Depending on the system size, this phase is often completed within a single day.
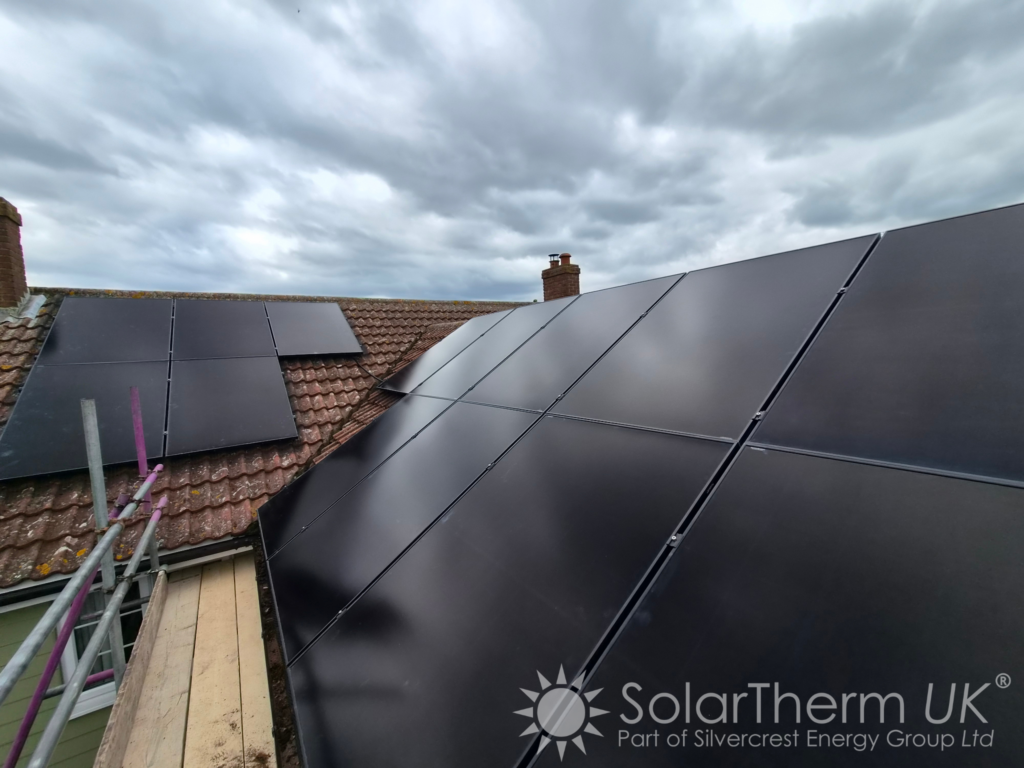
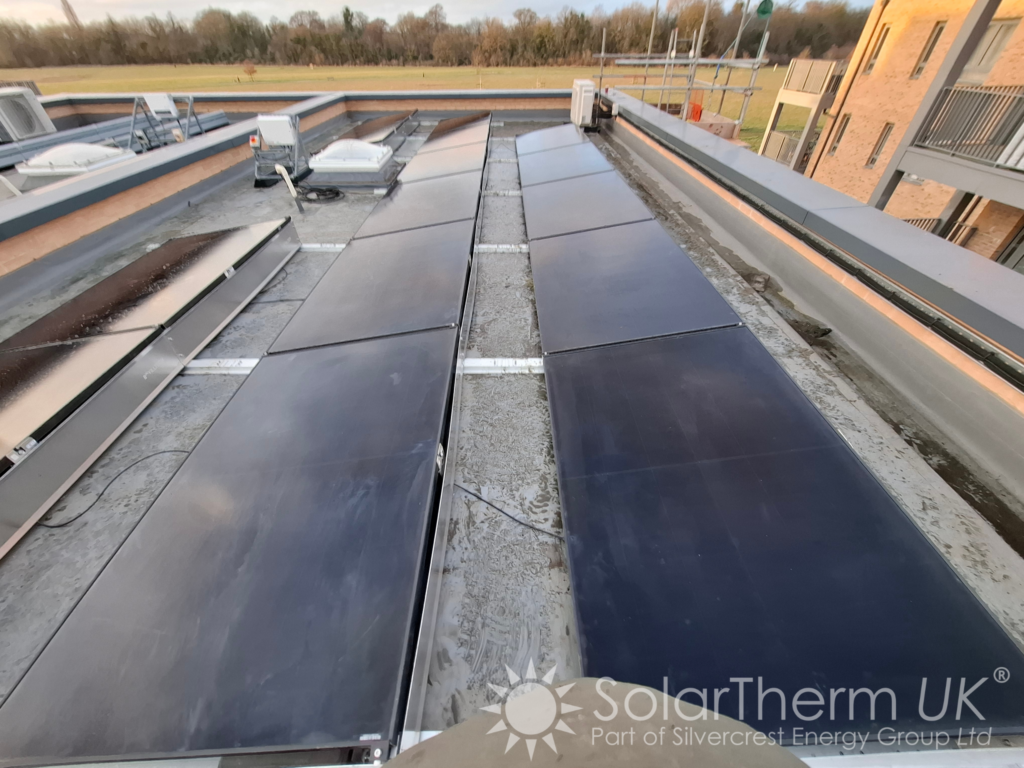
Even premium solar panels can underperform if they are poorly installed. Proper positioning, securing mounting and correct electrical connections all contribute to higher energy generation, greater system reliability and improved longevity which result in better financial returns.
Step 7: Inverter and battery Installation
The inverter is often described as the heart of a solar energy system. It converts the direct current (DC) electricity generated by solar panels into usable alternating current (AC) electricity for your home.
If battery storage is included, installers will also fit battery units, battery management systems, isolation switches and monitoring equipment. SolarTherm UK designs systems using trusted, industry leading equipment to maximise efficiency and reliability.
Step 8: Electrical Connections and Testing
Qualified electricians then complete the electrical integration. This includes:
- Consumer unit connections
- Generation meter installation
- System protection devices
- Earthing and bonding
- Safety testing
All electrical work is carried out in accordance with current UK regulations and industry best practices.
Solar installations involve both roofing and electrical expertise. Our trained professionals follow recognised industry standards to ensure every system is installed safely and correctly.
Step 9: System Commissioning
Before handover, the system undergoes comprehensive testing.
Checks include:
- Panel performance verification
- Inverter operation
- Electrical safety testing
- Monitoring platform setup
- Export functionality
Once commissioning is complete, the system is ready to begin generating renewable electricity.
Step 10: Customer Handover and Monitoring
After installation, you’ll receive guidance on operating your new system. We explain:
- How the system works
- Performance monitoring
- Battery operation (if installed)
- Expected energy generation
- Maintenance recommendations
Many modern systems include smartphone monitoring apps, allowing homeowners to track generation and savings in real time.
How Long Does Solar Installation Take?
Every property is different, but a typical residential solar panel installation follows this timeline:
| Stage | Typical Duration |
| Survey & Design | 1–2 Weeks |
| Scaffolding Installation | 1 Day |
| Solar Panel Installation | 1–2 Days |
| Electrical Works | 1 Day |
| Commissioning & Handover | Same Day |
Most residential solar installations are physically completed within just a few days once work begins.
Choosing Experienced Solar Installers
When comparing solar installers, homeowners should consider:
- Industry accreditations
- Installation experience
- Customer reviews
- Quality of equipment offered
- Health and safety standards
- Aftercare support
- System design expertise
Choosing an experienced installer can have a significant impact on long term system performance and customer satisfaction.
Why Homeowners Choose SolarTherm UK
SolarTherm UK provides tailored solar panel installation solutions for homeowners across Essex, Kent, Suffolk, Hertfordshire and the wider South East and East Anglia regions. Our focus on quality workmanship, safety, system performance and customer support helps homeowners maximise the value of their investment in renewable energy.
Conclusion
Understanding the solar installation process can make your transition to renewable energy much smoother. From the initial survey through to scaffolding, installation, testing and commissioning, every stage plays an important role in ensuring your system delivers reliable performance for years to come.
Working with experienced solar installers and prioritising safety through professional scaffolding solutions helps ensure your solar investment is installed correctly, efficiently and to the highest standards.
If you’re considering solar panel installation for your home in Essex, Kent, Suffolk, Hertfordshire or the surrounding areas, choosing a trusted local installer can help you achieve the best possible results.
Contact SolarTherm UK today for a free, no obligation quote and design, tailored to your property, usage and future energy needs. No hard sell, just honest, expert advice – and the time you need to make an informed decision.
Your home. Your energy. Your future.
Frequently Asked Questions
Most residential solar installations are completed within one to three days once scaffolding is in place, although project times can vary depending on system size and roof complexity.
In most cases, yes. Scaffolding provides safe access to the roof and helps ensure compliance with health and safety regulations while protecting installers and property owners.
When carried out by experienced solar installers, solar panel installation should not damage your roof. Professional mounting systems are specifically designed to integrate safely with existing roof structures.
Yes. Many homeowners choose to install solar panels first and add battery storage at a later date as their energy requirements evolve.
Yes. Solar panels generate electricity throughout the year. While output is typically lower during winter months due to shorter daylight hours, systems continue to produce renewable energy even on cloudy days.