Installing solar panels with SolarTherm UK is a great way to save money on your electricity bills, reduce your carbon footprint and gain independence from the grid. Use this checklist to make sure your home is ready for a smooth transition to solar power.
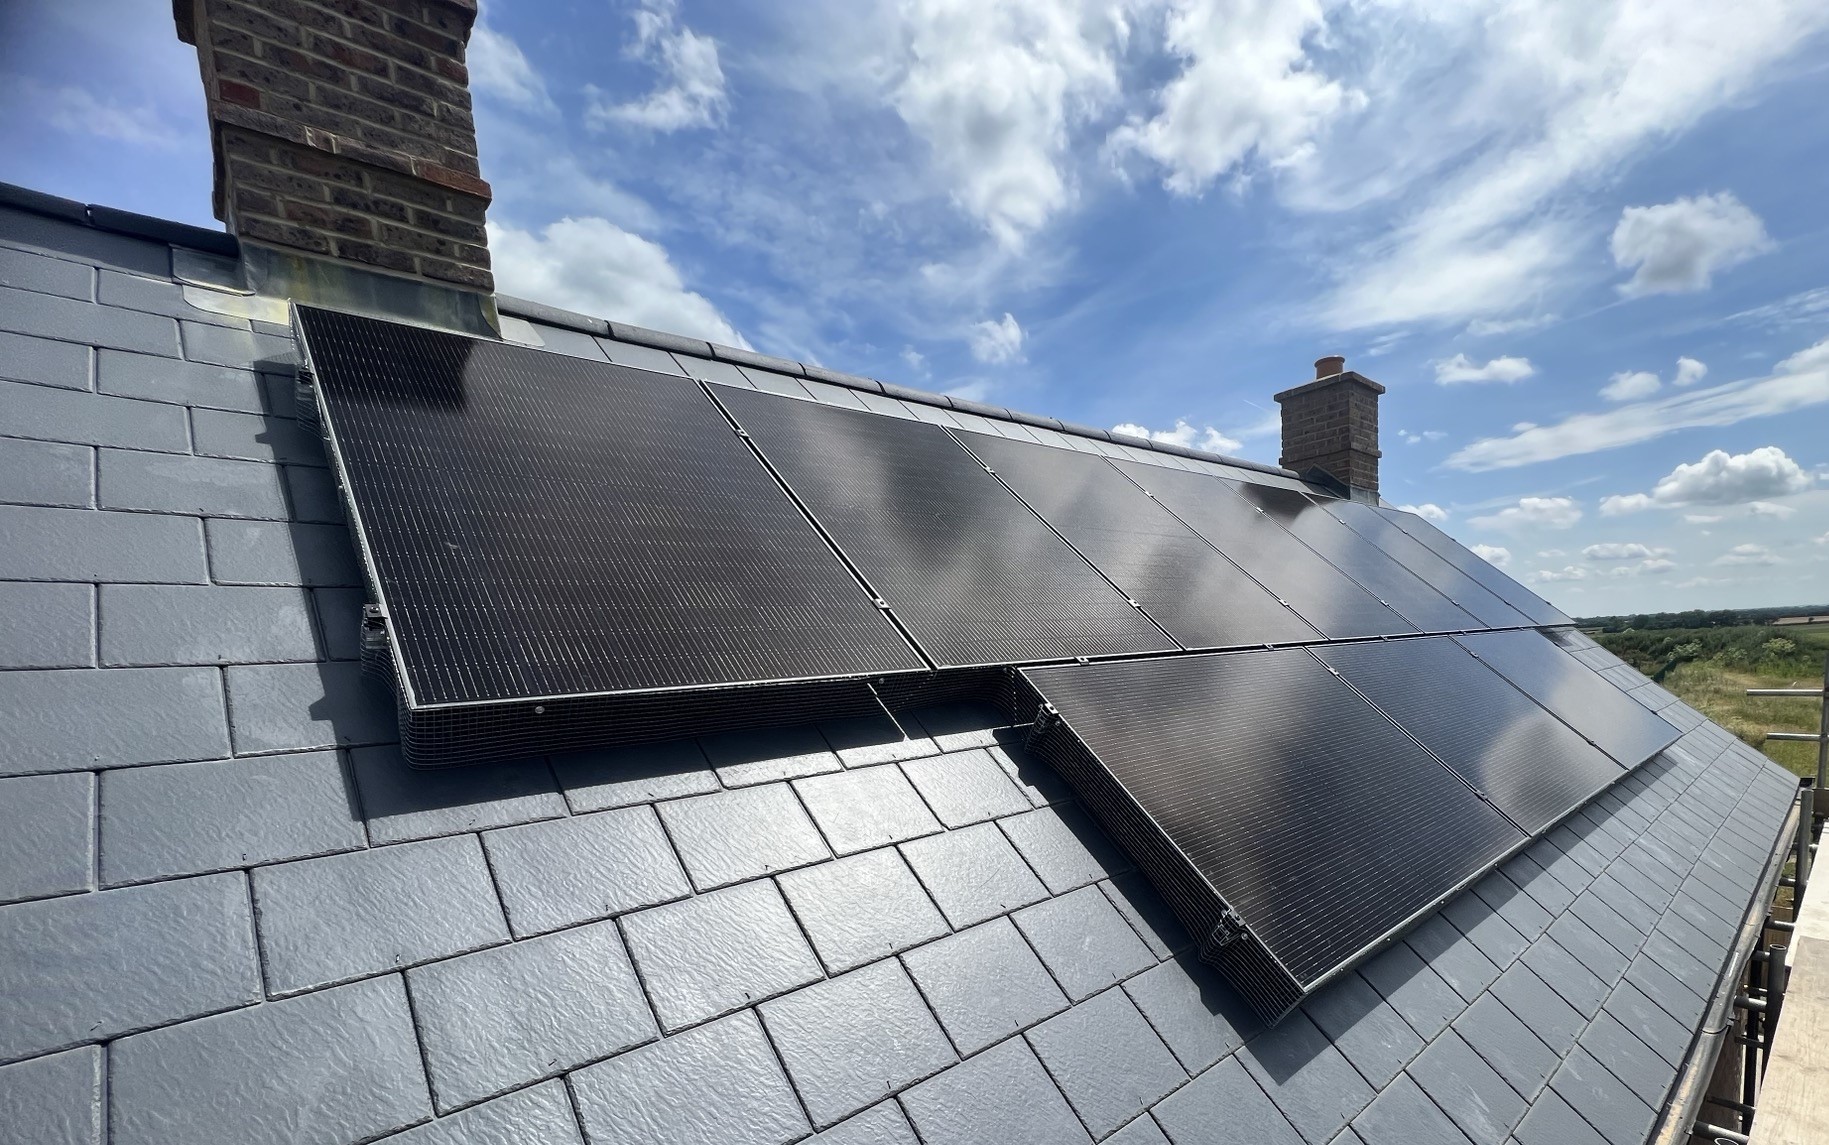
Step 1: Assess your roof’s condition
- Check your roof for any damage, leaks or signs of wear and tear
- Confirm there is enough unshaded space for panels
Step 2: Review your energy usage
- Collect 12 months of utility bills or your annual statement to understand your average energy consumption
- Consider what the next 10 years will look like for your energy consumption, for example do you plan on installing a heat pump or purchasing an electric car (EV)
Step 3: Understanding local planning and permissions
- Check if your property is a listed building or in a conservation area
- Solar installations in general don’t require planning permission under Permitted Development Rights but check to see if your install will require planning permission (your installer will be able to advise on this)
Step 4: Choose your installer
- Select a MCS-certified installer to ensure quality and to qualify for export tariffs and warranty eligibility
- Read reviews, check accreditations and insurance
Step 5: Evaluate your electrical system
- Check your fuse board and wiring is up to date
- Ask your installer if you need to upgrade anything for your solar install (this should usually be assessed at your site survey)
Step 6: Ask about battery storage options
- Discuss battery storage options and decide if you want to install now or at a later date
- Ask about future proofing your solar system for EV charging or upgrades
Step 7: Understand costs and financing
- Review your quote in detail – make sure you are getting what you need to cover your usage and lifestyle
- Decide if you are making a cash purchase or finance options
Step 8: Clear access for installation day
- Clear access to your loft and roof. Clear access to where any batteries will be fitted
- Make sure your installers can safely access the site
Step 9: Get everything in writing
- Keep copies of your MCS certificate, manuals and DNO approval for future reference (you will need these if your wish to apply for export tariffs)
- Ensure you have all details of warranties on your equipment and who to contact
Step 10: Inform your energy supplier
- Notify your supplier about your installation
- Get quotes to find your perfect tariff for your new solar installation – we recommend a tariff with a high export rate and low off-peak/overnight rate
- Register for the Smart Export Guarantee (SEG) to earn money from electricity you generate but don’t use
Step 11: Enjoy your new lifestyle
- Get to know your solar PV system and monitoring app
- Enjoy the savings you are making to your energy bills
Your home. Your energy. Your future.